
OAuth2 Test Executions
When running a Touchstone test execution against a FHIR server that is OAuth2 enabled, there are a few key changes that you will run into, depending on if the server is using a Static Token or a Dynamic Token.
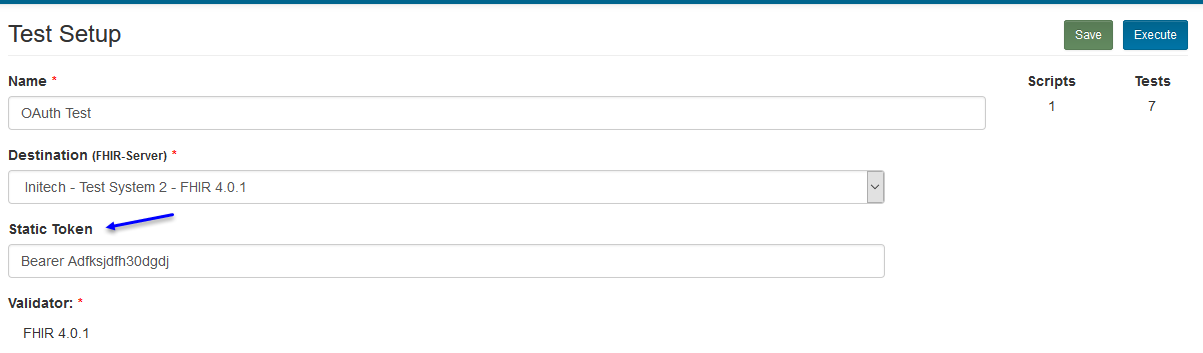
Static Token
When a Test System is OAuth2 enabled and is set to use a Static Token, the Test Setup page will include the Static Token field when the Test System is selected as the Destination server. This field can be overwritten by the user if necessary:
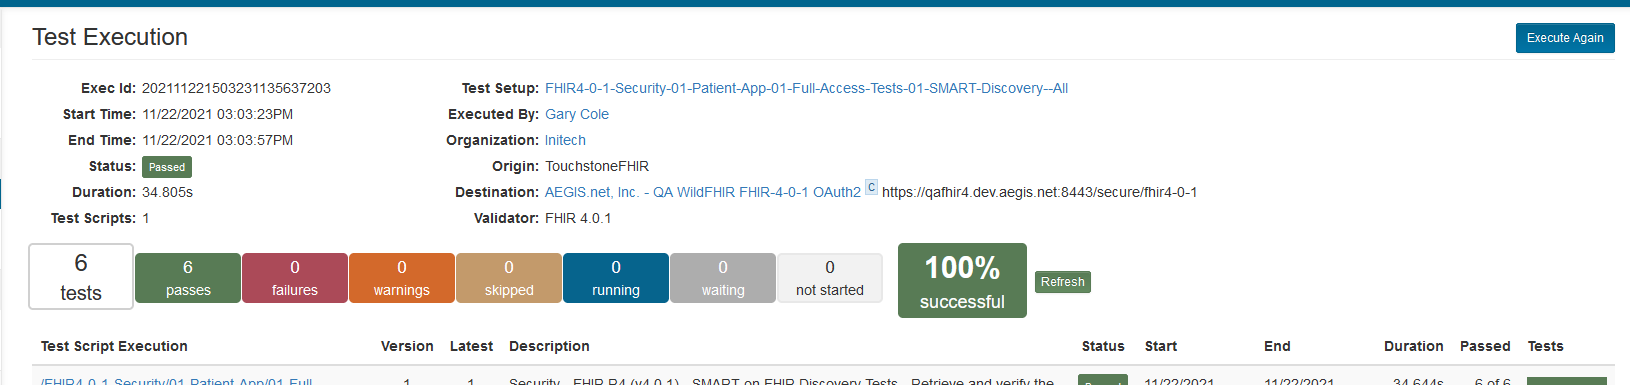
The test execution will then begin, using the Static Token in the OAuth2 handshake with the FHIR server:
Dynamic Token
There are three different Grant Types that a Test System can use if it is using a Dynamic Token. One is Authorization Code, one is Client Credentials, and the other is JWT Assertion. They each have slightly different flow for the user when executing tests.
Authorization Code
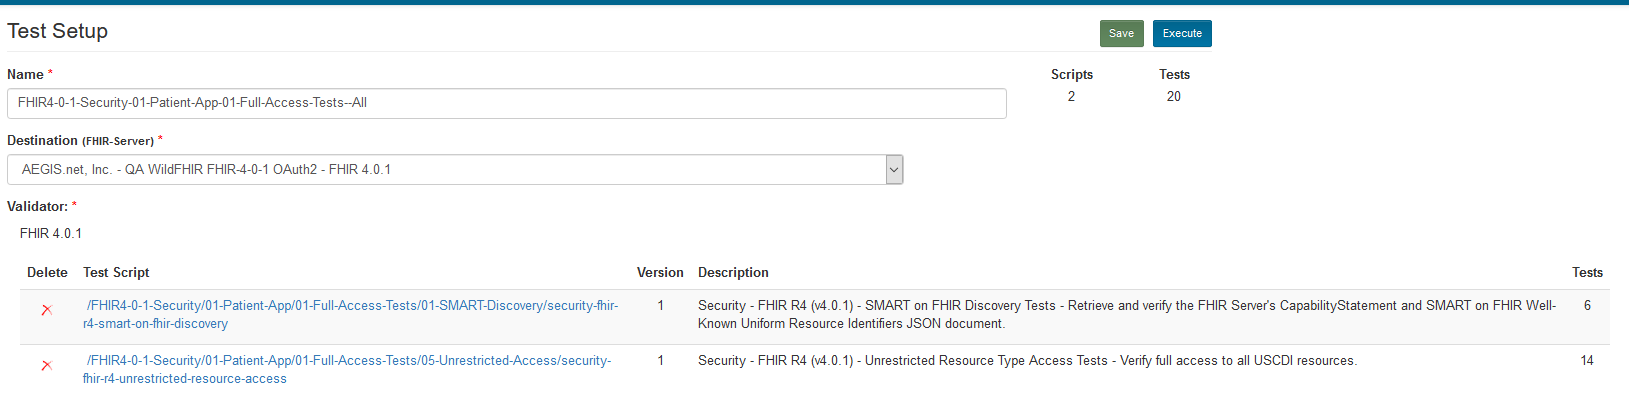
When a Test System is OAuth2 enabled and is set to use a Dynamic Token with the Authorization Code grant type, the Test Setup page will look like the traditional Test Setup page:
The test execution will begin, only this time, you will be prompted with a new window that will explain that you will be redirected to an external URL that will complete the OAuth2 Authorization step in the Test Execution process:
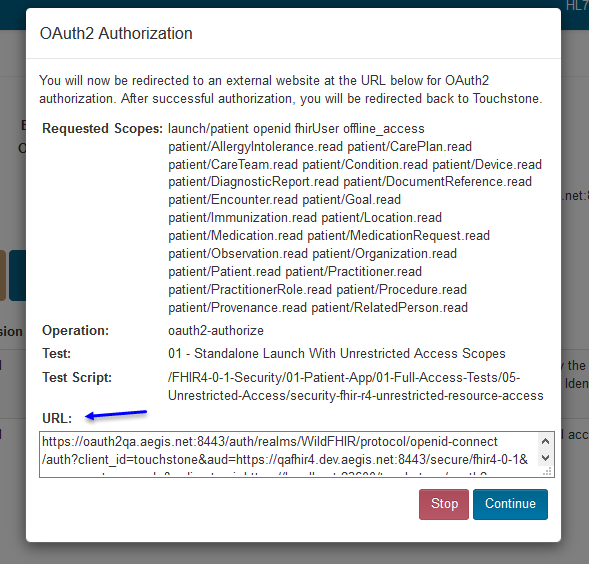
Requested Scopes – Scopes requested by the user to the Authorization server.
Operation – The operation being performed.
Test – The particular test related to OAuth2 Authorization.
Test Script – The overall Test Script related to OAuth2 Authorization.
URL – External URL that the user will be taken to for login.
When you are redirected, you will be asked to use a login for the Authorization service that is in front of the FHIR server. The example below is the one for our WildFHIR OAuth2 enabled FHIR servers:
Once you are redirected back to Touchstone after the successful login to the Authorization service, in the background, Touchstone will be taking the Authorization Code recieved by the Authorization service and sending it back to trade it in for a Token that it will be able to use to access the FHIR server. If there is another test in your Test Setup that requires a login to and Authorization service, then you will be prompted again with the OAuth2 Authorization window, and repeat the process. Once the execution completes, the Test execution screen will present you with the results of the tests:
Client Credentials
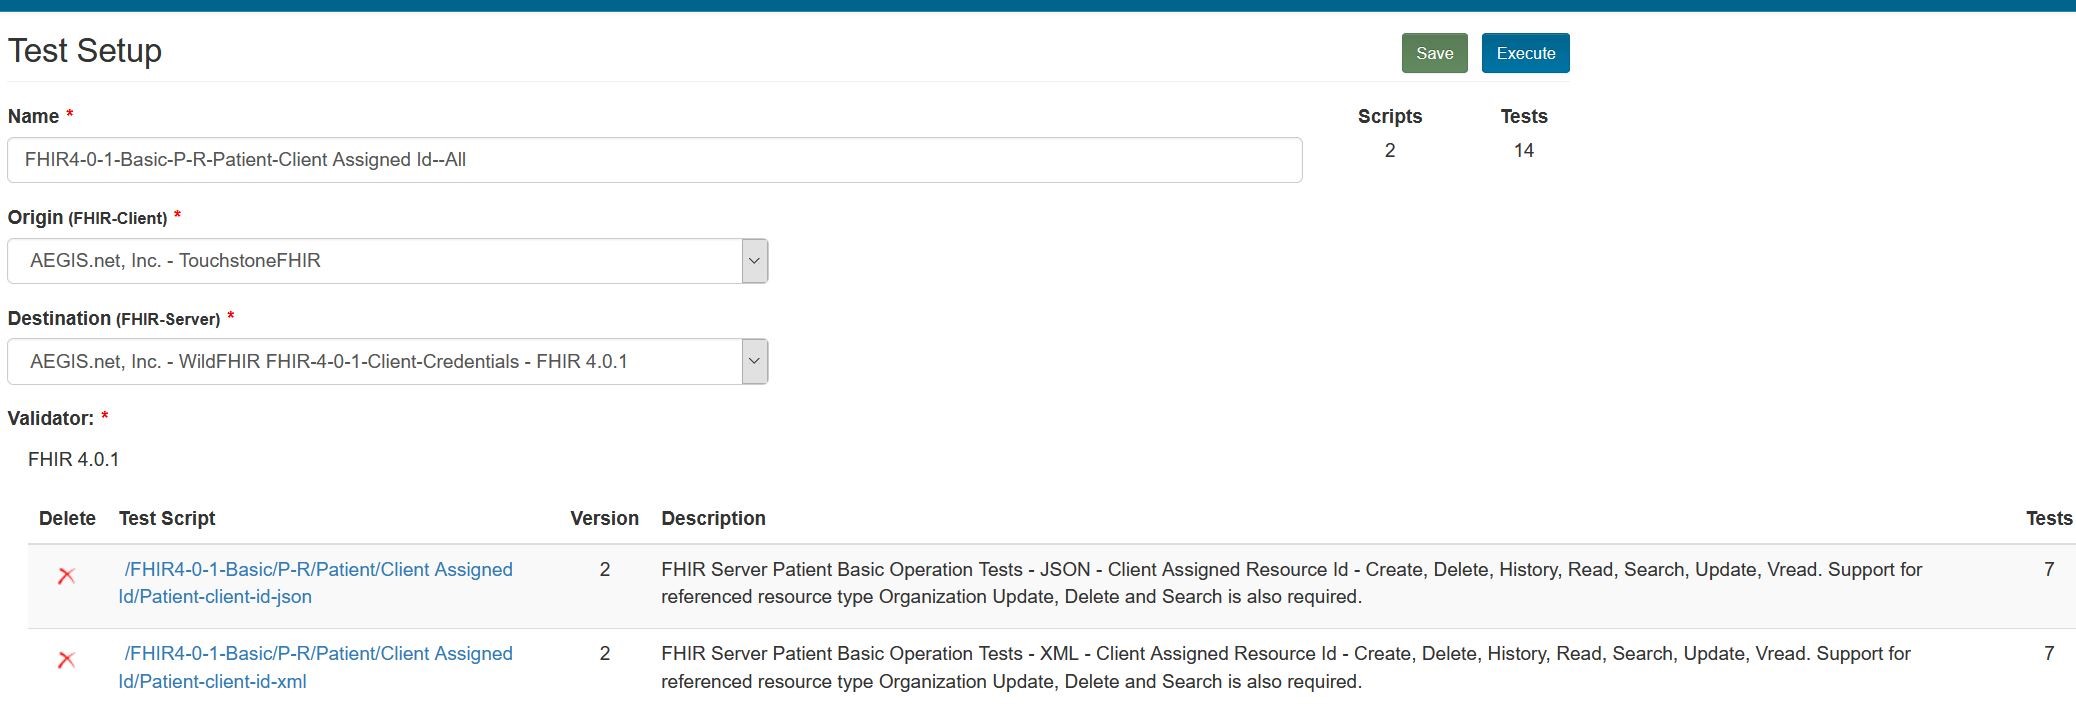
When a Test System is OAuth2 enabled and is set to use a Dynamic Token with the Client Credentials grant type, the Test Setup page will look like the traditional Test Setup page:
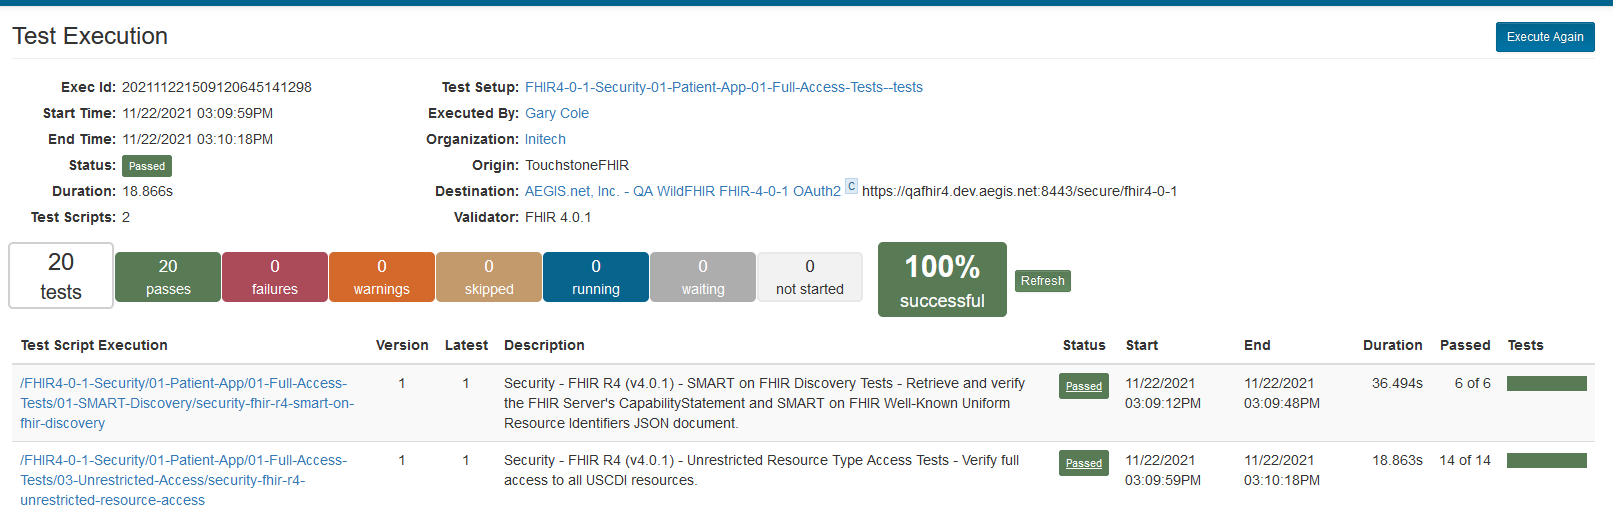
After starting the execution of the Test Setup, Touchstone will seem to run the Test Execution like it traditionally does. However, in the background, Touchstone is making a direct call to the OAuth2 server and retrieving the Token by using the Client ID and Client Secret that is saved to the Test System. The Token that is retrieved is then used to access the FHIR server right away. There is no extra step of going to login to an Authorization service because the Client ID and Secret are already trusted with the OAuth2 server, allowing a direct grant of the token. Once the execution completes, the Test execution screen will present you with the results of the tests:

JWT Assertion
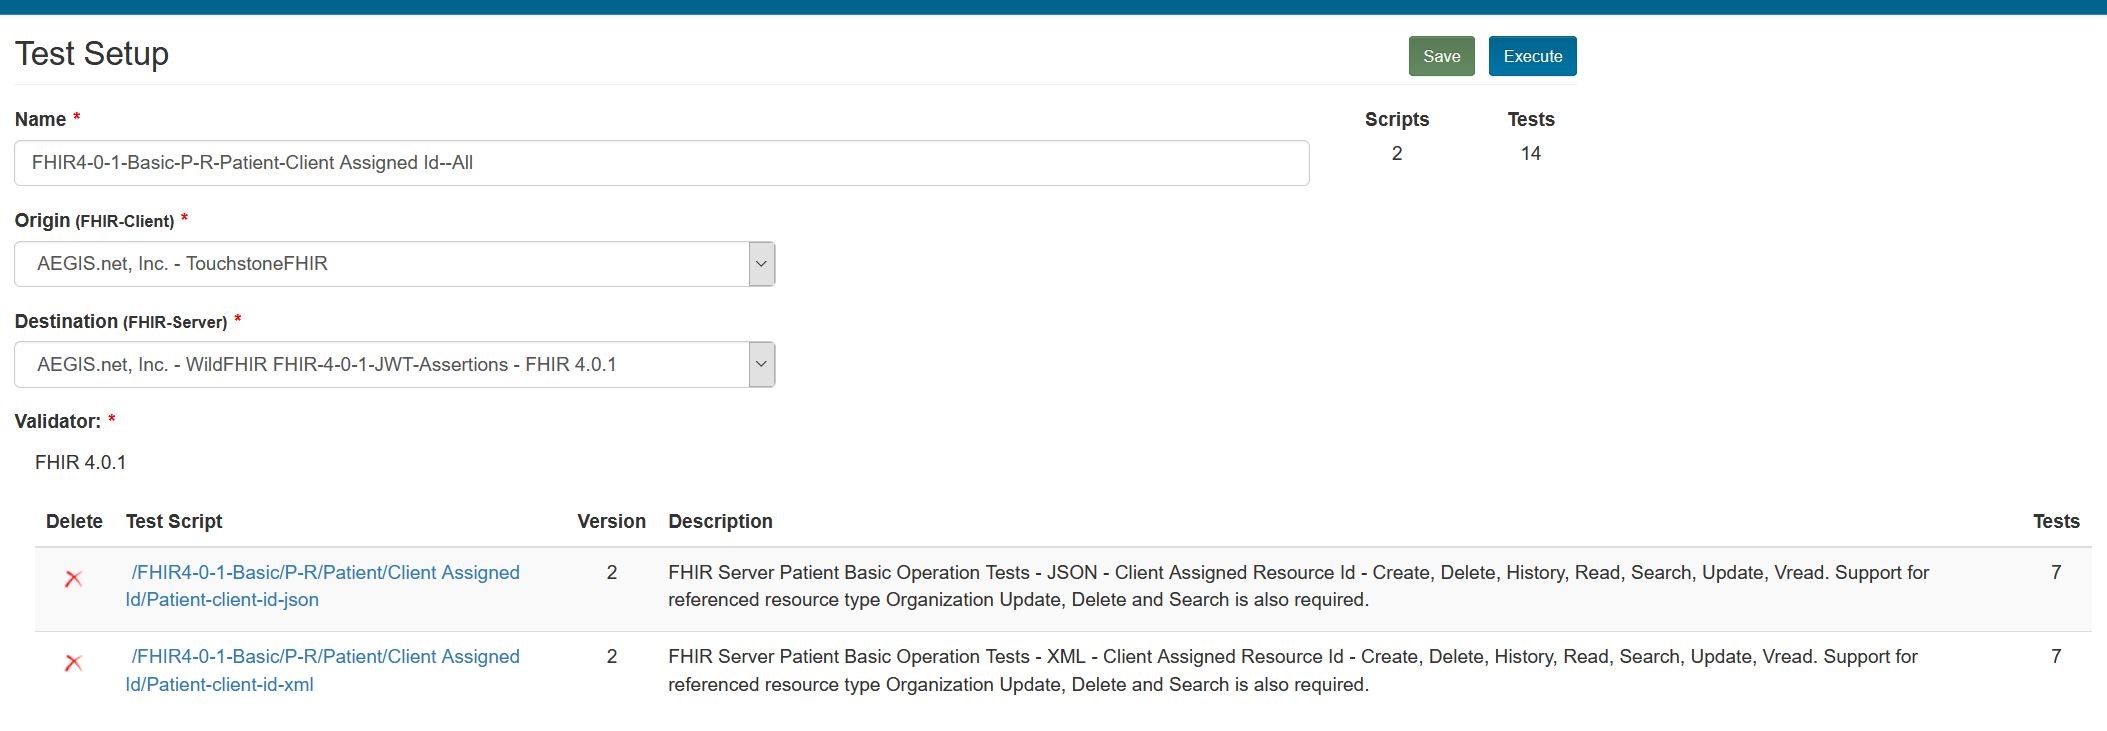
When a Test System is OAuth2 enabled and is set to use a Dynamic Token with the JWT Assertion grant type, the Test Setup page will look like the traditional Test Setup page:
After starting the execution of the Test Setup, Touchstone will seem to run the Test Execution like it traditionally does. However, in the background, Touchstone is making a direct call to the OAuth2 server and retrieving the Token by using the Client ID and JWT Signing Algorithm chosen in the Test System Setup. The Token that is retrieved is then used to access the FHIR server:
